Just to review, there are five variations of the Rhematec Business Card Cutter:
M/N: EBCC-B90R-E54R-A (for size A4 paper with 10-up (2x5) non-bleed
layout, finished card size 90 x 54 mm)
M/N: EBCC-B90R-E50R-A (for size A4 paper with 10-up (2x5) non-bleed
layout, finished card size 90 x 50 mm)
M/N: EBCC-B91R-E55R-A (for size A4 paper with 10-up (2x5) non-bleed
layout, finished card size 91 x 55 mm)
M/N: EBCC-B85G10-E54R-A (for size A4 paper with 10-up (2x5) half-bleed
layout, finished card size 85 x 54 mm)
M/N: EBCC-B88.9R-E50.8R-A (for size Letter paper with 10-up (2x5)
non-bleed layout, finished card size 3.5" x 2")
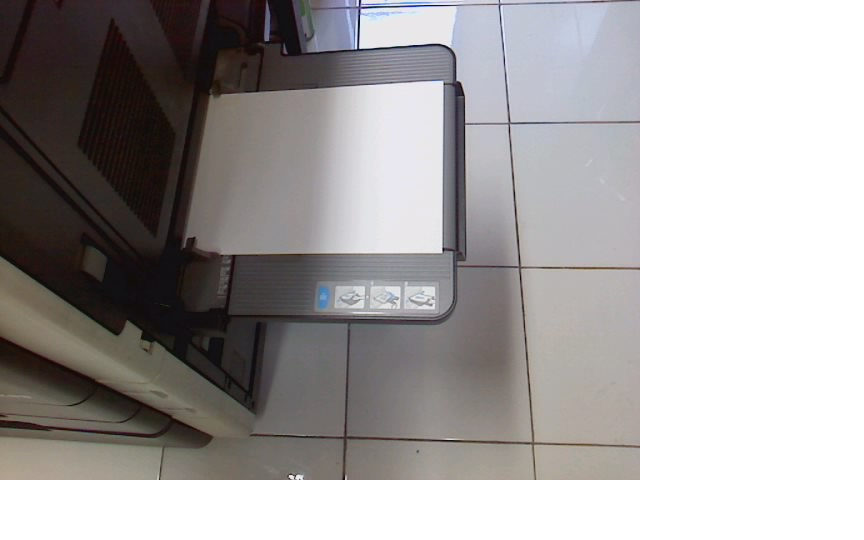
The Rhematec Business card cutter I have is the one with finished card size of 90 x 50 (mm), non-bleed. Non-bleed means, the design of the business cards to be cut using this machine should not have any graphics sitting on its edges. There is a way around this, which will be focused on the part 3 of this article. The printer used is a laser printer. I have tried to use inkjet printer, but the feeding mechanism, has made inconsistencies with regard to the position of the prints. So it is not advisable to use this cutter, if you have an inkjet printer.
Anyway, let's start:
Step 1: Make sure that the paper to be printed on is A4 in size. Not all the papers are accurately A4 in size. If not trim to size the papers.
Step 2: Position the paper on the bypass tray (if you have a copier/printer), as landscape (by experience, it is more accurate on this way):
Step 3: Let's work on PagePlus. From the menu, click "File" then choose "Page Setup"

Step 4: On Page Setup window, click "Create Custom" button

Step 5: On Small Publication Setup Window, enter the following details, then print the business card.

Step 6: Insert the printed business cards in the lower slot, with the top of the print, first:

These are the cut-out:

Step 7: Insert the printed business cards, this time in the upper slot. The topmost part of the print is now positioned on the rightmost part of the slot:

The business cards coming out:

The non-bleed, clean edge, business cards:

Sorry for the not so clear pictures but I hope this gave you an idea on how to prepare your file, a non-bleed business card for the Rhematec Business Card Cutter.


Thanks so much for providing individuals with remarkably pleasant possiblity to read from this site. It is often so lovely and as well , stuffed with a good time for me and my office peers to visit the blog at a minimum thrice a week to read through the newest issues you have got. And of course, I am at all times satisfied with the awesome principles you serve. Selected 2 tips in this posting are essentially the very best we have had.
ReplyDelete